

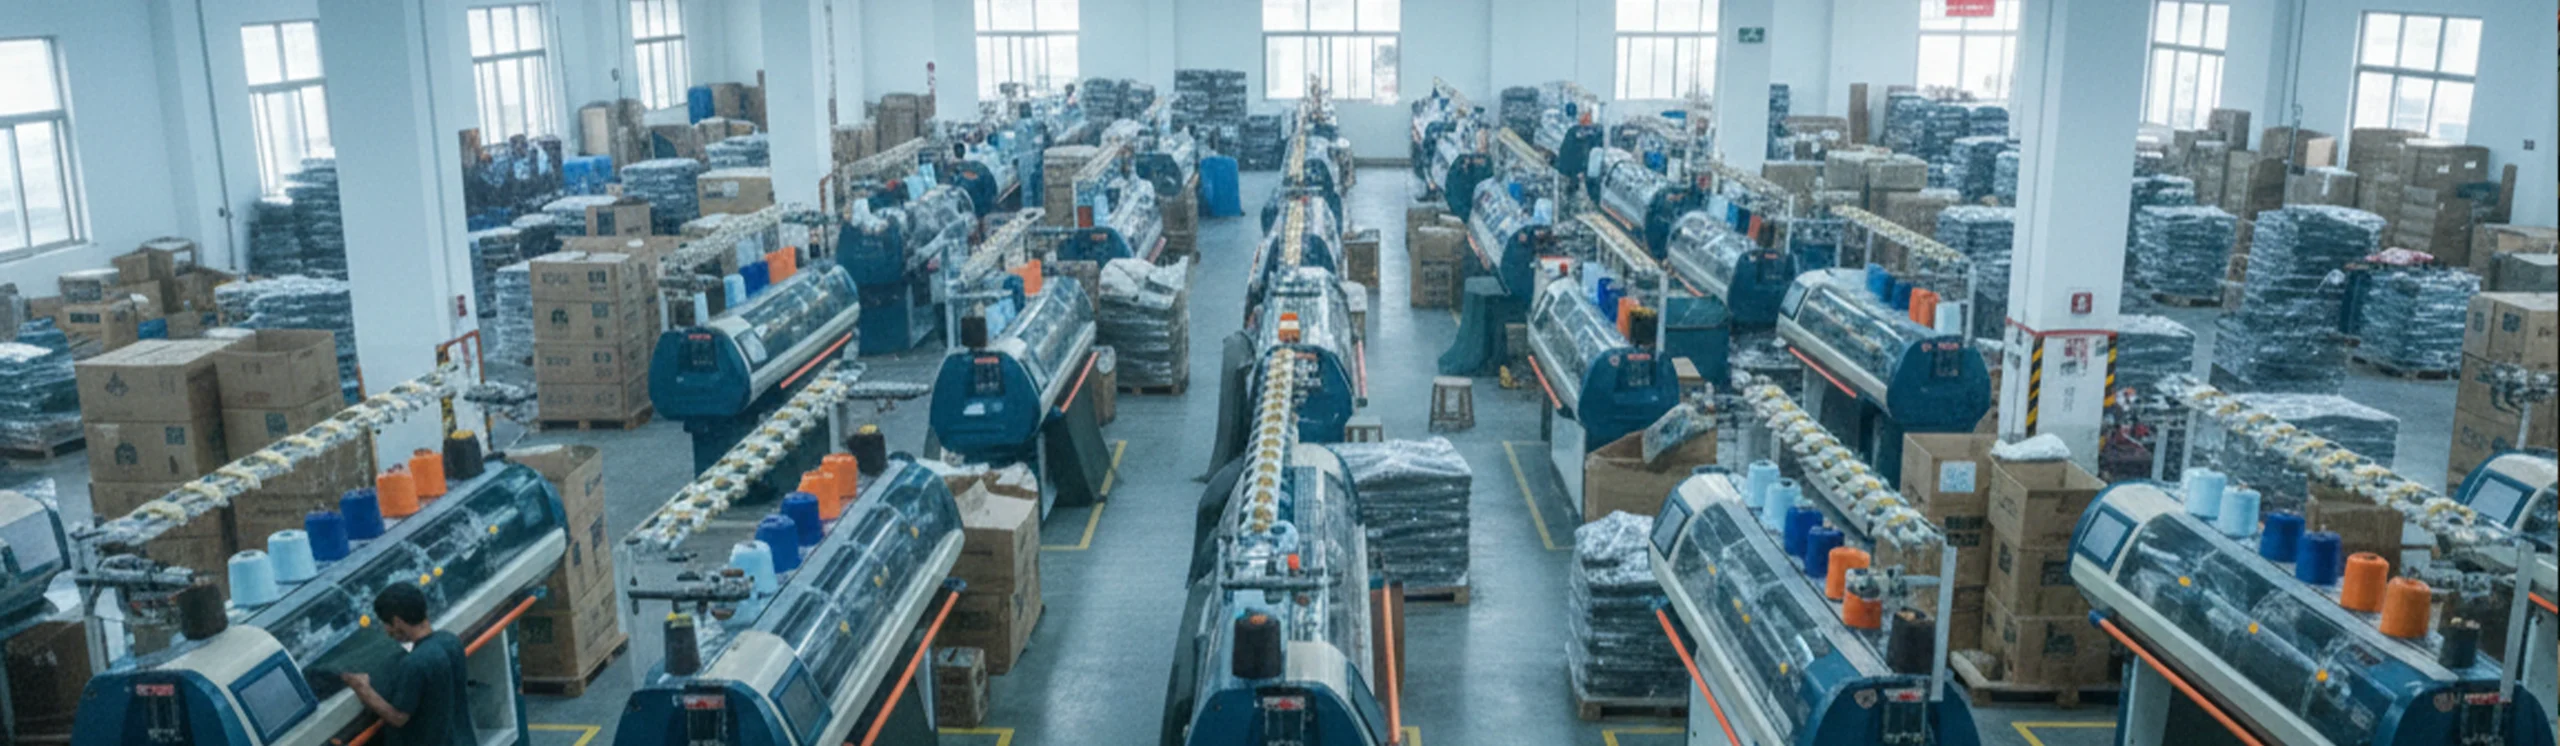
Many brand owners, when dealing with Knitwear for the first time, are surprised by its complexity. Unlike Woven fabrics, where “what you cut is what you get,” knitwear is more like an organic process of “growing from nothing.”
In the world of custom manufacturing at Lewen Garment, we aren’t just making clothes; we are executing a precise piece of “Code Engineering” for you. To ensure your product achieves the ideal texture and fit, here is the complete “Evolutionary Theory” of our collaboration.
Why knitted production can’t be cut and sewn
A sweater starts as yarn on cones. Nothing is cut from a roll of fabric, so there’s no spare cloth sitting behind the first panel. Every panel is knitted to shape on a flat machine, stitch by stitch, and the machine widens, narrows and binds off as it runs. If a sleeve comes out short, you don’t trim a longer one out of stock fabric. You reprogramme, re-knit and re-wash.
That makes knitwear a chain instead of a set of independent steps. The yarn count decides which machine gauge can run it. The gauge decides stitch density. The stitch density decides how the panel behaves in the wash. The wash decides the final measurements. Move one link and everything after it moves too. A yarn swap in week one turns into a new sample, a new fit approval and a new delivery date in week six. Our custom sweater manufacturing guide follows that chain from yarn to packed carton.
This is also why factories push for decisions early. Yarn, gauge and structure lock in hand-feel, weight, drape and shrinkage before the first stitch is knitted. Getting them right before sampling costs one conversation. Getting them wrong after sampling costs a yarn booking, a new programme, a new sample and another round of approvals.
Phase 1: The Blueprint (Inspiration & Requirements)
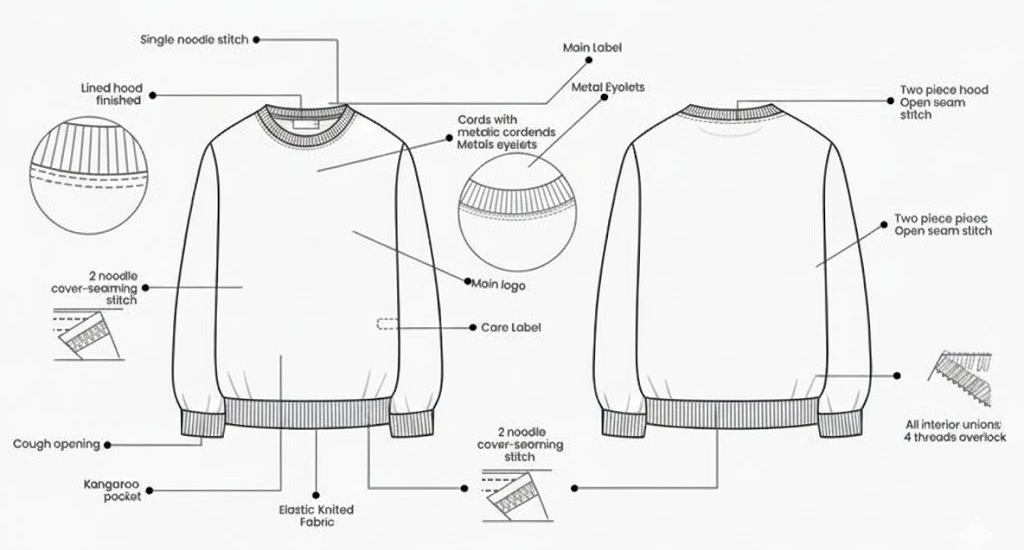
This step is the cornerstone of the project. The texture of the sweater determines its soul, while the design sketch determines its skeleton.
Collaboration Checklist:
- [You]: Provide design sketches and Reference Samples. Most importantly, define the texture: Do you want the soft, waxy feel of cashmere, or the crisp, dry touch of a cotton blend?
- [Lewen]: We perform a design task analysis. We discuss the silhouette and structure in 2D space and provide professional yarn suggestions.
Phase 2: Source Code Initialization (Sourcing & Costing)
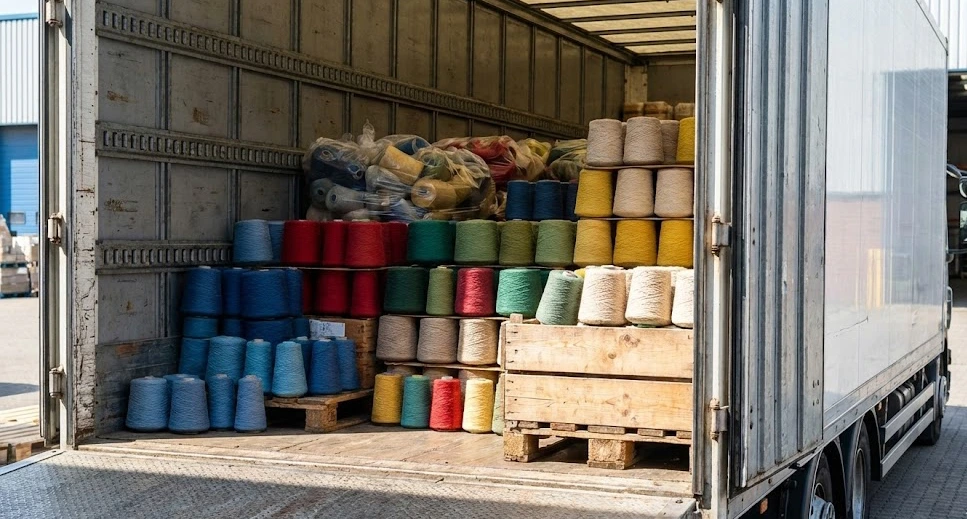
Choosing the right yarn is half the battle. Different yarn counts and compositions directly affect the cost and the final look.
Collaboration Checklist:
- [You]: Select your desired colors based on the color cards we provide.
- [Lewen]: We source raw materials and perform strict Cost Accounting. We test the basic performance of the material to ensure the yarn count and composition meet the design requirements.
Phase 3: Programming & Beta Test (The Core Stage)
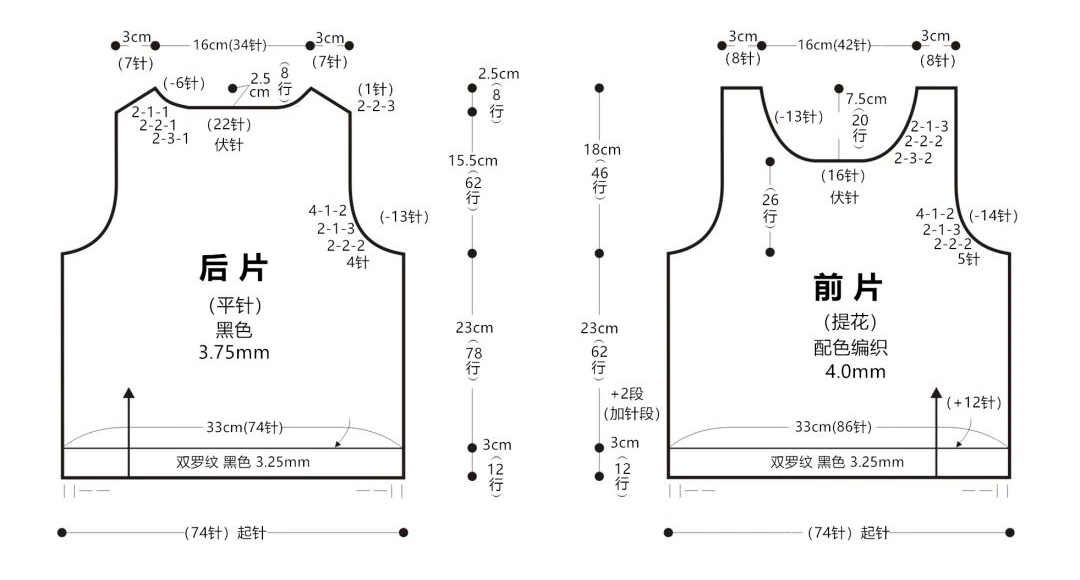
This is the most mysterious and technical part of knitwear. We often say: “Wovens rely on cutting; Knits rely on calculation.”
Collaboration Checklist:
- [You]: (Resting Phase) You just need to wait backstage for the birth of the Proto Sample.
- [Lewen]:
1. Calculations : The master technician formulates specific specs (chest, length, etc.) based on the design. This is the foundation of the pattern.
2. Pattern Programming : Translating the pattern into machine-readable code (Digital Pattern Programming).
3. Proto Sampling : Producing the first sample. This is crucial to test the Natural Shrinkage Rate of the yarn, ensuring precise dimensions for bulk production.
Phase 4: Debugging (Correction & Iteration)
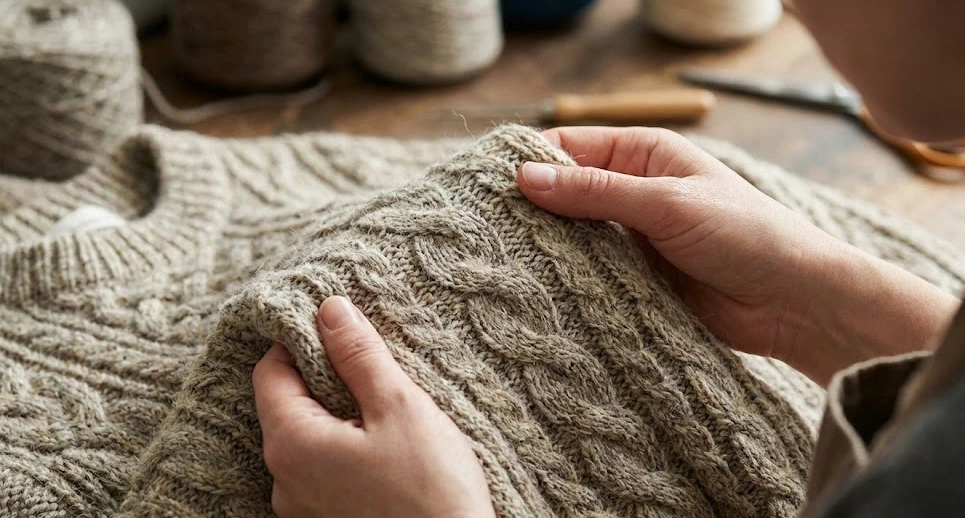
Once the sample is out, we need to “Find Bugs” together.
Collaboration Checklist:
- [You]: Try it on yourself or use a fit model. Check if the hand-feel, color, measurements, and fit meet your expectations.
- [Lewen]: We collect your feedback for defect analysis (e.g., Is the collar lying flat? Is the sleeve cap ease even?). Based on this, we modify the Calculation Sheet, essentially “optimizing the code.”
Phase 5: Compilation & Execution (Production Launch)
Once confirmed, we hit the “Start” button, and bulk production begins.
Collaboration Checklist:
- [You]: Confirm the Pre-production Sample (PPS) and issue the bulk production order.
- [Lewen]:
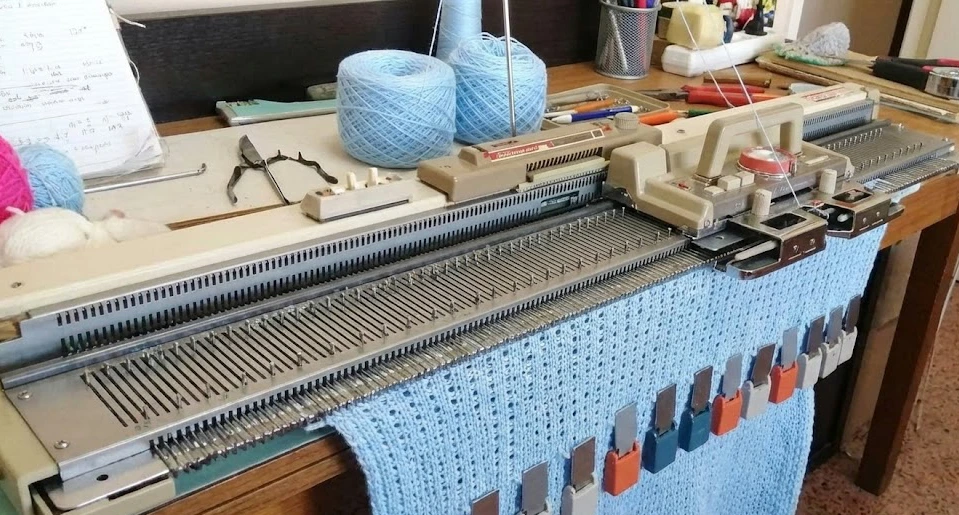
1. Knitting Panels: Computerized flat knitting machines knit the fabric panels. The beauty of knitwear lies in “Widening, Narrowing, and Binding off” stitches to form the shape directly, meaning less waste and smoother lines compared to cutting.
2. Secondary Crafts: If there is embroidery or printing, we handle it on the panels before assembly to ensure the pattern doesn’t deform.
Phase 6: Assembly (Linking)
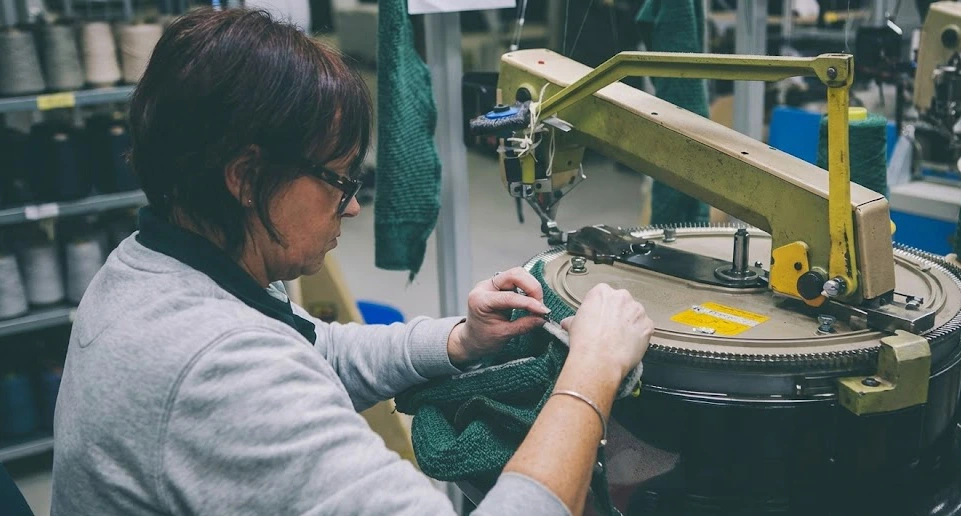
Unlike standard sewing machines, knitwear factories use “Linking Machines.”
Collaboration Checklist:
- [You]: Await the final product.
- [Lewen]: Workers use the linking machine to join the garment panels “Loop by Loop.” This specific connection method ensures the seams have excellent elasticity and stretch, so they don’t feel tight or restrictive when worn.
Phase 7: UI/UX Polish (Finishing & Ironing)
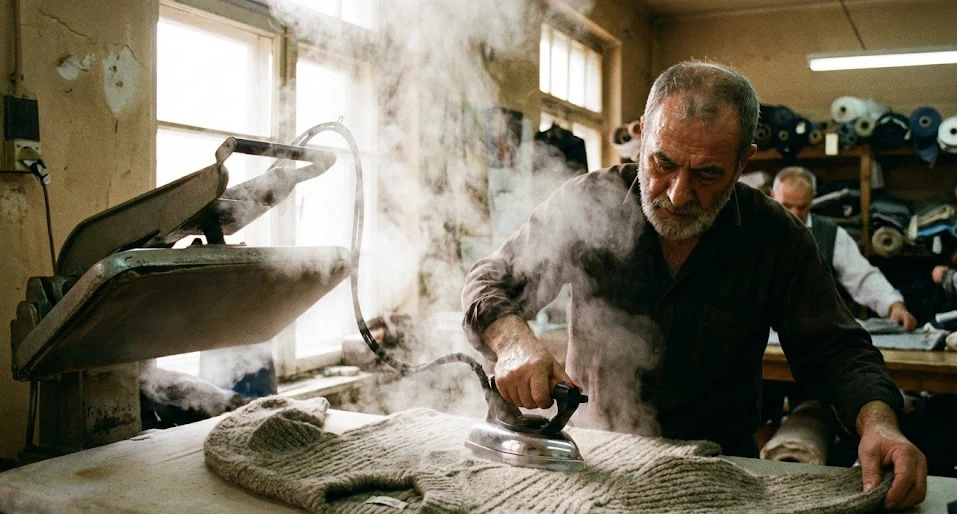
This is the key step that determines the “Premium Feel.” A sweater fresh off the machine is raw and stiff; it must go through this “Soul Injection.”
Collaboration Checklist:
- [You]: Prepare your warehouse for receiving.
- [Lewen]:
1. Washing: This isn’t just cleaning; it’s about stabilizing dimensions and controlling the “blooming” of the yarn (how fuzzy it gets) to achieve that desired “soft & waxy” hand-feel.
2. Ironing/Steaming: The ironing department shapes the garment. We steam the panels into their specified 3D form, ensuring a flat appearance and natural drape.
Phase 8: Final Release (QA & Delivery)
Collaboration Checklist:
- [You]: Receive goods and prepare for launch.
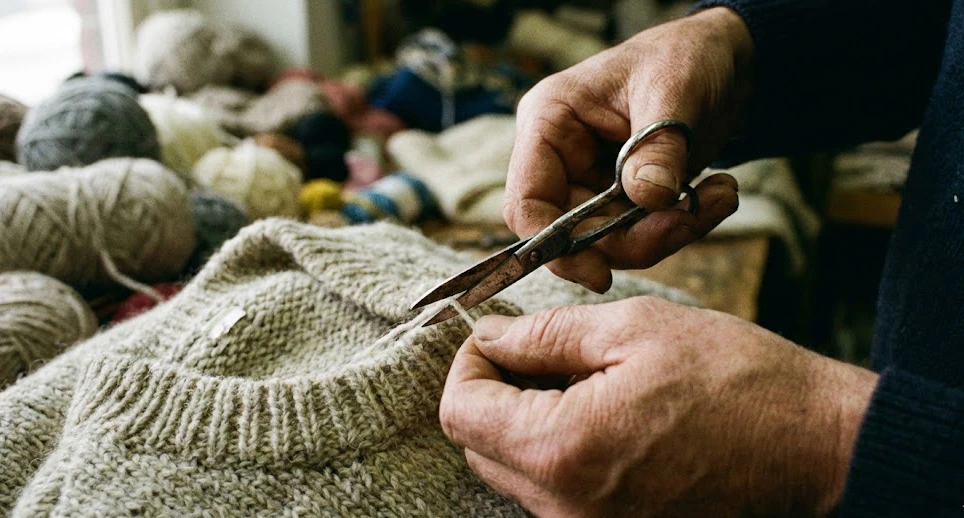
- [Lewen]: Final QA Inspection. We check for broken yarns, dropped stitches, loose threads, or size deviations. Only products that are 100% up to standard are packed and shipped.
💡 Summary: Why is Making a Sweater Like “Writing Code”?
Producing a custom sweater is like “writing a piece of self-growing code” on a computer:
- Calculations & Programming = Source Code: Determines the basic logic of the program.
- Yarn = Variables: Since yarn is elastic (like variables in code), we must control it precisely.
- Proto Sample = Beta Version: Run the program once to see if there are any bugs.
- Washing Test = Debugging: Fixing dimensional deviations by testing shrinkage rates.
- Ironing/Shaping = GUI Design (User Interface): Giving the code a beautiful “interface” so the user finds it comfortable and easy to use.
When every byte (every yarn) is accurate, the final result presented to you is a perfectly running “Program” (The Finished Garment).
How long each stage actually takes
Every buyer asks the same thing at kickoff: when can we have goods? The honest answer is a range. The clock starts in different places, and several stages depend on decisions that sit outside the factory. The table below shows typical working-day ranges for a knitwear order, measured from a complete tech pack to packed cartons.
| Stage | Typical working days | What drives the range |
|---|---|---|
| Tech pack review and clarification | 1–3 | How complete the spec is, how many open questions come back |
| Sampling (proto sample) | 7–10 | Yarn availability, gauge, stitch complexity, colour count |
| Yarn booking and delivery | 5–20 | Stock yarn versus custom-dyed or custom-spun; dye lot approval |
| Programming and test panel | 2–5 | Pattern complexity, gauge changes, structure testing |
| Knitting | 5–15 | Order quantity, machine capacity, number of colours and panels |
| Linking and assembly | 3–10 | Panel count, seam type, collars, plackets, buttons |
| Finishing (wash, steam, press) | 3–8 | Wash programme, hand-feel target, pressing requirements |
| QC and packing | 2–4 | Inspection standard, label and carton requirements |
Read the table as a chain, not a menu. Sampling sits ahead of everything else, and the proto has to be approved before bulk yarn is booked and the machine programme is locked. Add sampling to the bulk stages and you get the full development-to-delivery window. For a straightforward style with yarn already in stock, bulk usually lands inside the 15–30 working day range most China knitwear factories quote. We break down that window in how long custom knitwear production takes.
Quotes differ between factories for explainable reasons: machine capacity and what’s already booked, how many colours and sizes are in the order, how complex the structure is, and whether the factory is counting from the purchase order, the PPS approval or yarn arrival. The biggest single variable is yarn. Stock yarn moves quickly. Custom-dyed or custom-spun yarn adds weeks and often waits in a queue at the spinner or dyehouse. Ask any factory which date its quoted lead time starts from. That one answer explains most of the gap between two quotes for the same style.
Which stage slips most often? Yarn booking and material arrival. Custom dye lots, back-ordered fibre and colour approval rounds are the usual causes. After that, extra sample revision rounds slip the schedule most, because each additional proto or fit round pushes the PPS and the bulk start date. Two habits remove most of that risk: approve colour from a physical swatch rather than a screen image, and keep the first revision round focused on fit and measurements so a second round isn’t needed for issues you could have caught earlier.
The three decisions that lock the whole run
Yarn or fibre choice sets what the garment can be. A 2/28 merino and a 2/48 merino knit on different machines, wash differently and drape differently, even in the same silhouette. Fibre also carries the care story: wool pills and shrinks in hot water, cotton holds shape but wears cooler, cashmere needs a gentler wash. Blends move the cost, and they also move hand-feel and care. Once bulk yarn is booked, the programme, the wash recipe and the measurements are all built around that specific lot.
Gauge decides how fine or coarse the fabric looks and how heavy it feels. GG means needles per inch, and the range runs from 1.5GG for chunky outerwear up to 18GG for fine, almost woven-looking knits. A gauge change isn’t a setting you adjust mid-run. It’s a different machine, a different programme and a different sample. Brands that move a style from 7GG to 12GG to hit a lower cost often find the hand-feel changes more than the money saved. For needle counts and how they map to fabric weight, start with what GG means in knitwear.
Construction and stitch structure decide stretch, texture and how the garment holds shape. Jersey, rib, cable, pointelle, jacquard and intarsia all consume different amounts of yarn per panel, and full-fashioned panels behave differently from cut panels at the seams. Structure changes measurements too. A cable panel pulls in more than jersey, so the size chart has to be built on the real structure rather than a flat measurement table. Yarn, gauge and structure are interdependent, and yarn count and machine gauge matching explains why you can’t choose one without the other two.
What a brand should prepare before kickoff
A complete tech pack is the fastest start, but a reference garment plus written comments can open a project too. Either way, the factory needs a front and back view of the style, a size chart with base size, tolerances and grading, and colour references — Pantone TCX codes or physical yarn swatches, with a note on whether the colour must come from a stock yarn card or be dyed to match. Send trims and labels early: main labels, care label wording, hangtags, buttons, zips and drawcords all affect costing and, in some cases, packing time. Our knitwear manufacturer checklist covers the full document list.
Then agree the sign-off points in writing: proto sample, fit and measurement comments, colour approval, trim approval, PPS and pre-shipment inspection. Put a name against each one. Most kickoff delays we see come from approvals that sit unanswered or arrive in fragments, not from a lack of factory capacity.
It also helps to say what you can be flexible on. Brands often find that an existing construction can be adapted instead of built from zero. The fully-fashioned polo production process is one example, where the same machine family and linking method carry over to a related style and shorten sampling. Flexibility on a collar detail or a stitch pattern costs nothing. Flexibility on yarn or gauge after the first sample costs a full re-sample.
Ready to start your “Coding” journey? Contact Lewen Garment, and let’s “compile” your design inspiration into tangible reality.